Motorcycles are subject to a lot of abuse on the open roads. Even motorcycles with fairings or other protective covers over their most sensitive parts must endure salt, oil and dust while speeding along at highway speeds. It’s not only difficult to see all that filth when it covers up your beloved ride’s beautiful paint job, but it can also be very damaging. Road salts and other grime can cause damage to your bike’s internal workings, including rubber gaskets or wiring connections. Washing your bike is essential for maintenance and the pure pleasure of a shiny, new bike.
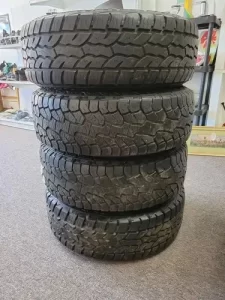
Washing your bike can be a great way to inspect your bike and prevent future damage. You can also check for wear on the chain, inspect the tread of your tires, and look for oil leaks. Washing your motorcycle is a smart idea for all regular riders. A shiny bike is a great look!
What Not to Do
First, you must realize that washing your motorcycle and vehicle are two different things. Cars are more protected from high-pressure hoses, powerful detergents, and other harsh chemicals. Motorcycles are more sensitive. Before you go and grab your car wash bucket, here are some things to avoid:
- Use a different detergent for your motorcycle than you would for your car. Use a cleaner that is specifically designed for motorcycles.
- Do not wash your bike if it is hot. It is best to wash your bike when it’s cool.
- Avoid washing your bike in direct sun. It will dry soap faster and make it harder to rinse.
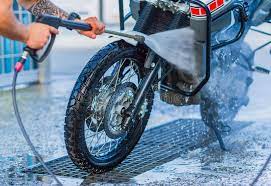
- Use a low-pressure hose. It is possible to cause engine problems by allowing water into the engine.
These warnings are important to remember. Below is our guide on how to wash your motorcycle correctly.
What you’ll need
- Motorbike-specific cleaners can be found online, in motorcycle shops and most auto parts shops.
- Use an adjustable spray nozzle to hose
- Sponge
- Brushes (soft and stiff versions)
- Rags
- Chamois or microfiber fabric
- Chain lube
Step 1: Prepare Your Motorcycle
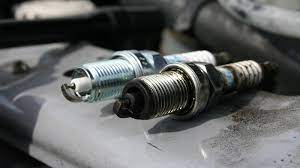
Before you start, inspect your motorcycle and verify that all electrical connections, spark plug wires and other components are secure. Use a rag to plug the hole in your exhaust pipe to prevent water from entering your exhaust system. You should remove any bags and other accessories that could cause your bike to become dirty.
Step 2: Rinse the entire thing
Your bike should be rinsed with a low-pressure hose. You can adjust the pressure to reach less sensitive and dirtier areas, like the wheels or fenders.
Step 3: Cleaner
Some motorcycle cleaners don’t require scrubbing. Spray them on and let them sit for a while before you rinse. This part is easy if you have the right cleaner but don’t feel ambitious. Use a sponge to clean your bike if you don’t have that type of cleaner. Always work from the top, starting with the dirtiest areas. You’ll typically want to begin with easily scratched surfaces. To keep your sponge clean and free of debris, rinse it often. Consider getting a second bucket if you are using a bucket to wash your suds.
Step 4: Reach hard-to-reach areas
Brushes can be used to clean those difficult areas or to scrub extra hard-to-reach places. For sensitive parts of your engine, you can use a simple paintbrush like the one you would use to paint your home. Stiff brushes are more effective for removing grime from your tires and wheels.
Step 5: Rinse
Start at the top and give your bike a good rinse using a low-pressure setting. Don’t hesitate to increase the pressure on less sensitive areas.
Step 6: Dry
To dry your bike, use a microfiber cloth or chamois. Begin with the painted surface of the gas tank and work your way up to the engine, seat, wheels, exhaust, and engine. To avoid removing dirt and dust, change your cloth often. If available, a chamois can be used for the first pass. It absorbs water and then allows for easy drying.
Step 7: Re-Lube your Chain
The job of a motorcycle cleaner is to remove grease and grime. But there’s one area on your bike that you want the grease to stick: your chain. After drying your bike, apply lubricant all around the chain.
Step 8: Take a ride
After it has dried completely, you can take the rag out from the exhaust and ride your bike to rid it of any water that may have accumulated in places it shouldn’t. Remember that wet brakes can take some time before they feel normal. Start by riding slower than you would normally, then move on to the highway.


